Apart from ellipses, the ellipse shape is also used for
circles, arcs and wedges.
It is possible to make an ellipse
into an arc or wedge by adjusting its start and stop angles. There are two ways
to do this. The first way is to drag the yellow handles that appear to the right
of the ellipse when it is selected (they are initially on top of each other, as
a full ellipse starts and stops at the same point). Moving them around the
perimeter of the ellipse will change the start and stop angles. The other way is
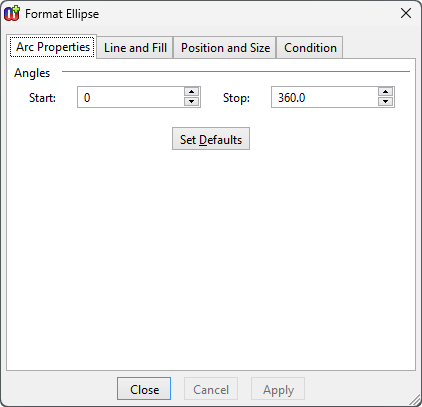
to open the Format Dialog and change the values in the
Arc
properties tab (
Figure 3–10). Enter new values in
the
Start and
Stop fields or use the spin buttons. Please note
that angle values are presented as degrees, so the proper values are between 0
and 360. 0 degrees is to the right, and the ellipse is drawn anti-clockwise from
the start to the stop angle.
Figure 3–10. Arc properties.
Setting line and fill,
position and size, and condition properties of an ellipse is the same as for
other elements: please see Section
3.1.3 for more
information.