3.7 Creating a Family Tree diagram
To start creating a new Family Tree diagram, select Edit |
Create Graph... from the MetaEdit+ launcher. When MetaEdit+ asks you to
choose the graph type to create, choose ‘Family Tree’ from the list
and press OK.
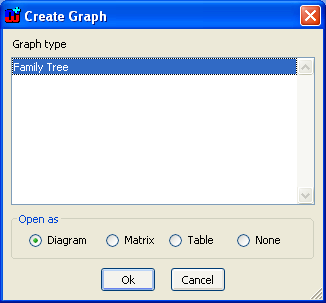
Figure 3-18. Choosing the graph type to be created
You are
next asked to enter the name of the family for which the Family Tree diagram
will be created (in our example in
Figure
3-19 we created the tree for the Simpson family as we know it from
TV).
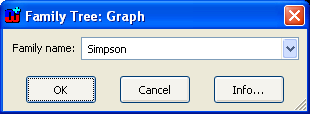
Figure 3-19. Entering the Family name for a new Family Tree
Press
OK and MetaEdit+ opens an empty Diagram Editor for drawing a Family Tree
(as in
Figure 3-20). At the top of the
Diagram Editor window you will find the usual menu bar. Below that is an action
toolbar, and below that another toolbar that contains the types for the modeling
language in use (the objects are on the left side and relationships on the right
side). The main part of the window is reserved for the drawing area. There is a
side bar on the left with a tree view of all object types and instances in the
graph, and a property sheet showing the properties of the selected element. At
the bottom of the window, a status bar shows information about the selected
element and there are controls for grid and zoom.

Figure 3-20. The Diagram Editor


